I made the most of the days between the years to familiarise myself with Ink/Stitch - an alternative programme for controlling the embroidery machine in Happylab.
Ink/Stitch is an extension for the open source vector editing programme Inkscape. There is an active community that provides many great tutorials and videos online.
At first glance, Ink/Stitch seems a little confusing. The extension is hidden in a submenu and the individual items are not necessarily self-explanatory.
But at second glance, Ink/Stitch is a powerful tool for embroidering vector graphics exactly the way you want.
Ink/Stitch allows you to set the embroidery density, direction, pattern and much more very precisely for each part of the design.

Although this multitude of options requires you to familiarise yourself with the fabric, the machine, the needle and the thread, the results are beautiful.
In addition, Ink/Stitch provides the user with "Live-Preview", a tool that animates the embroidery process and can even render a realistic view. (See video below.)
It's also great that you can plan your embroidery process from the comfort of your own computer at home and only have to copy it to the machine. It doesn't matter whether you're a Linux, Mac or Windows user.
A lovely person from the Ink/Stitch community took time out for Lukas and me and gave us an introduction to the programme in mid-December.
And Ink/Stitch is actually relatively easy to use. First you need a vector graphic, which you can draw yourself or vectorise with Inkscape from a bitmap (.png, .jpg, etc.). This must then be divided into lines and areas, and an embroidery process can then be defined for each object.
The objects are then arranged in a sensible order and the file can be sent directly from Inkscape to the embroidery machine.
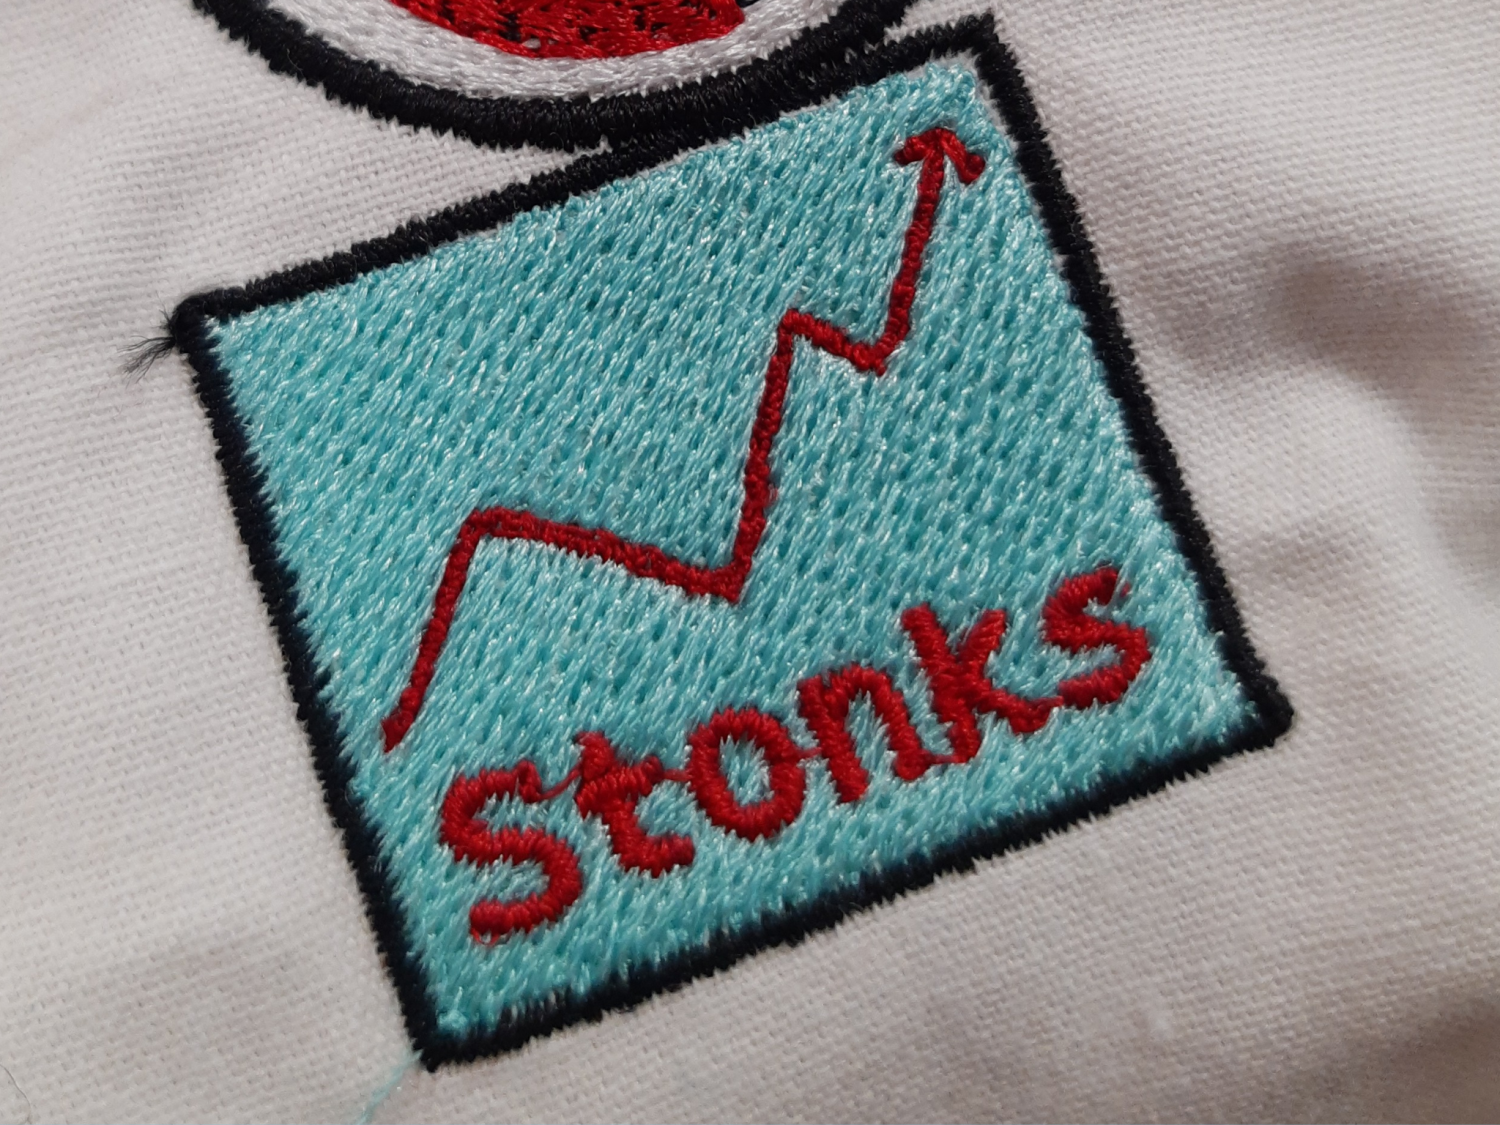
Here are some examples of my learning curve: First I embroidered a light blue area, then outlined it with a black satin stitch and placed a line with a satin stitch and text in the centre.
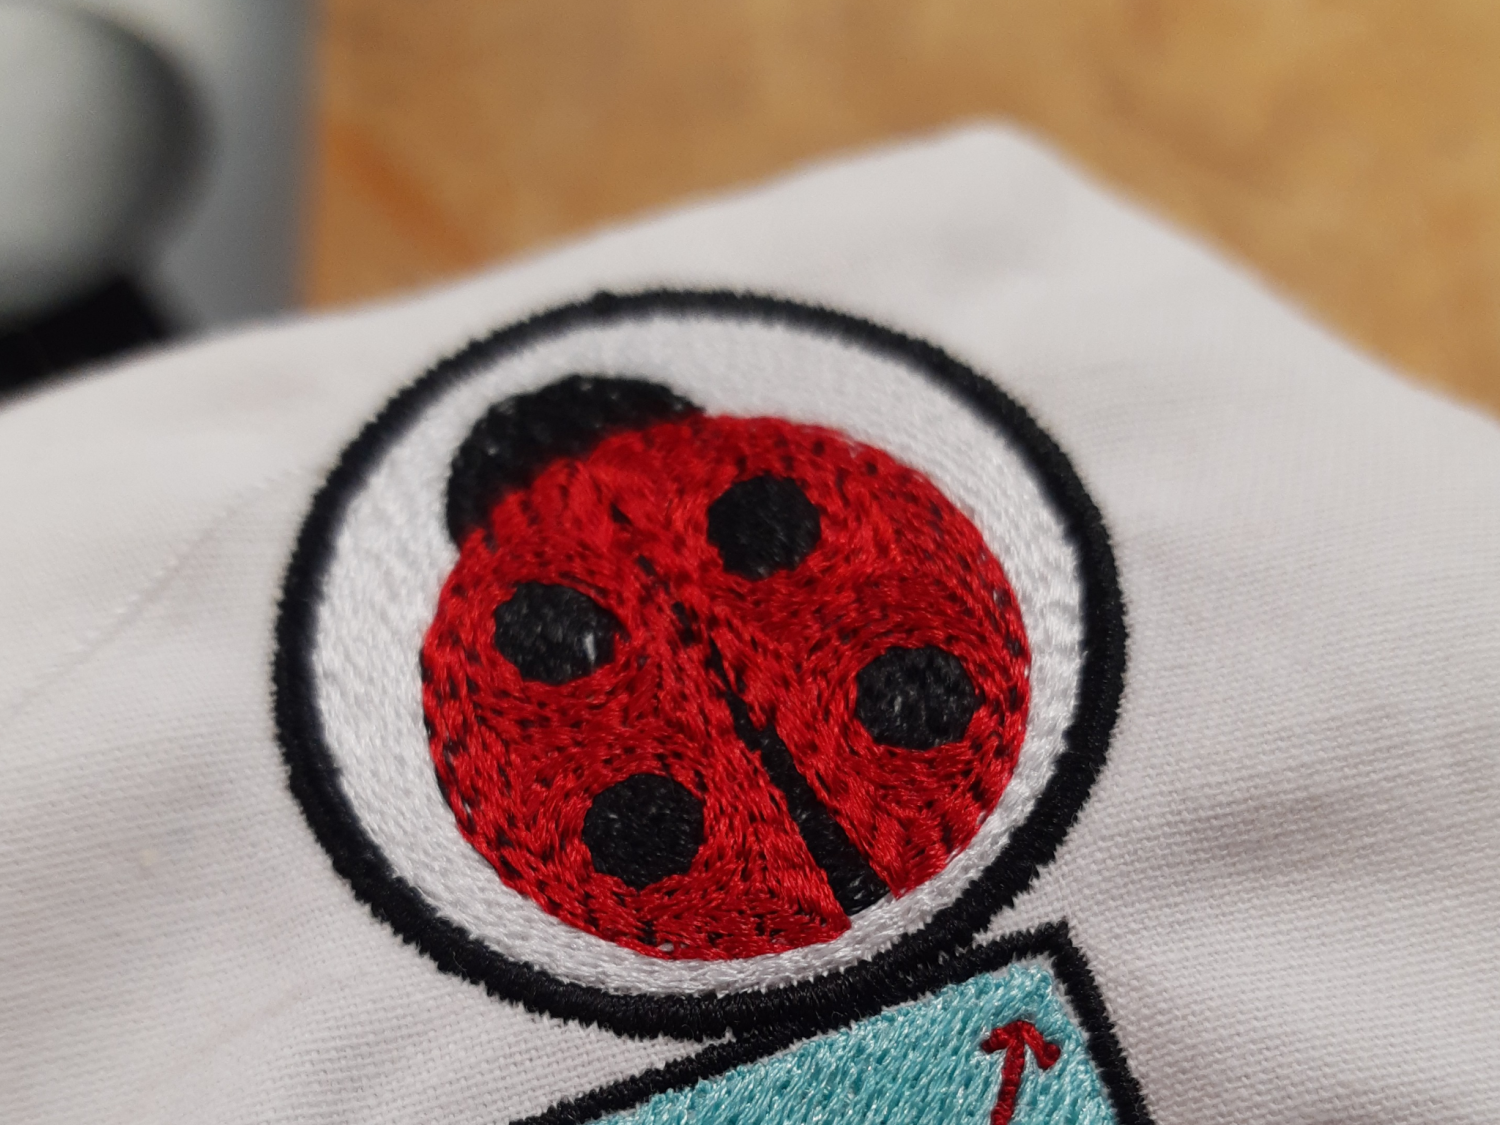
As a second attempt, I then embroidered a ladybird patch. I tried out whether it was possible to place two fillings on top of each other and what that would look like.
The third object was to be the ladybird, only without several layers, but smaller and more densely stitched. The needle promptly broke.
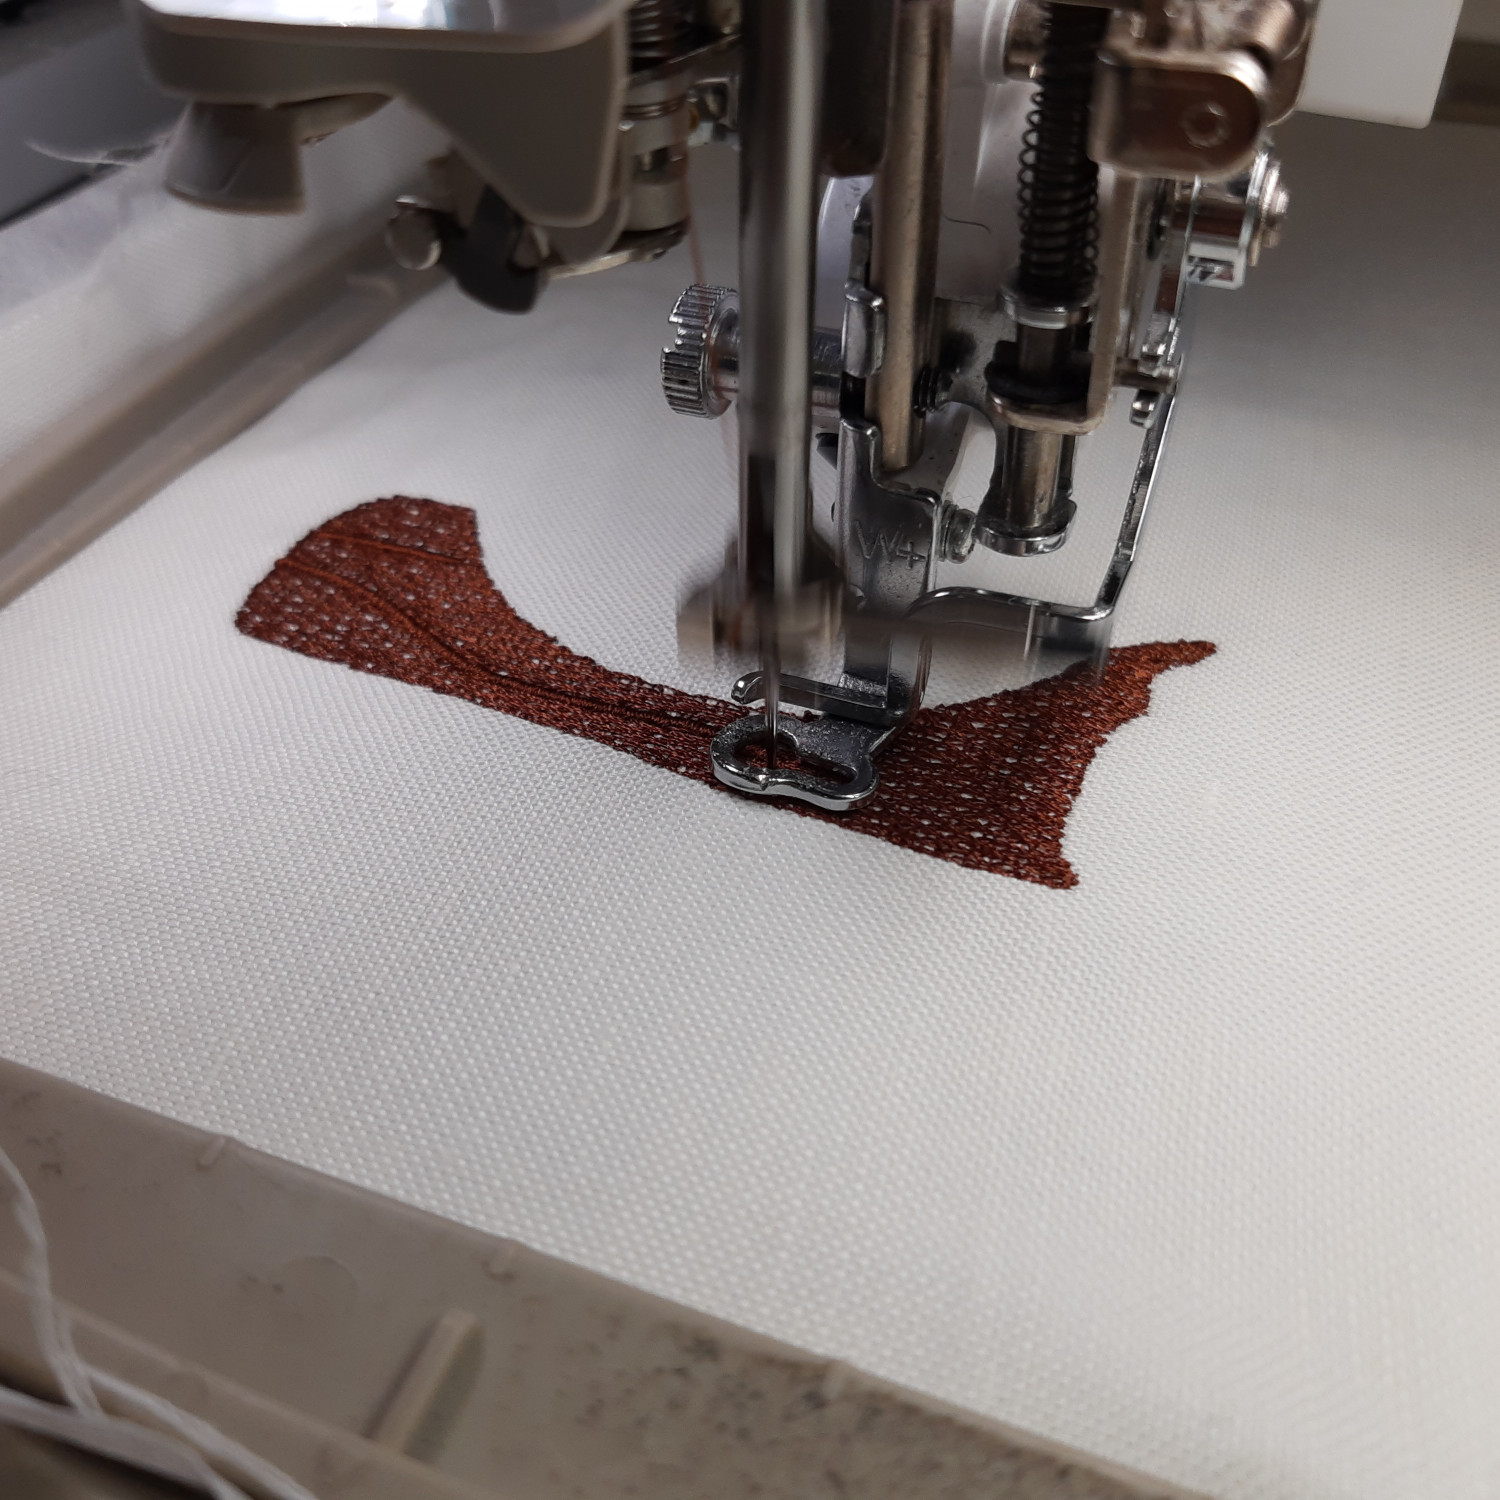
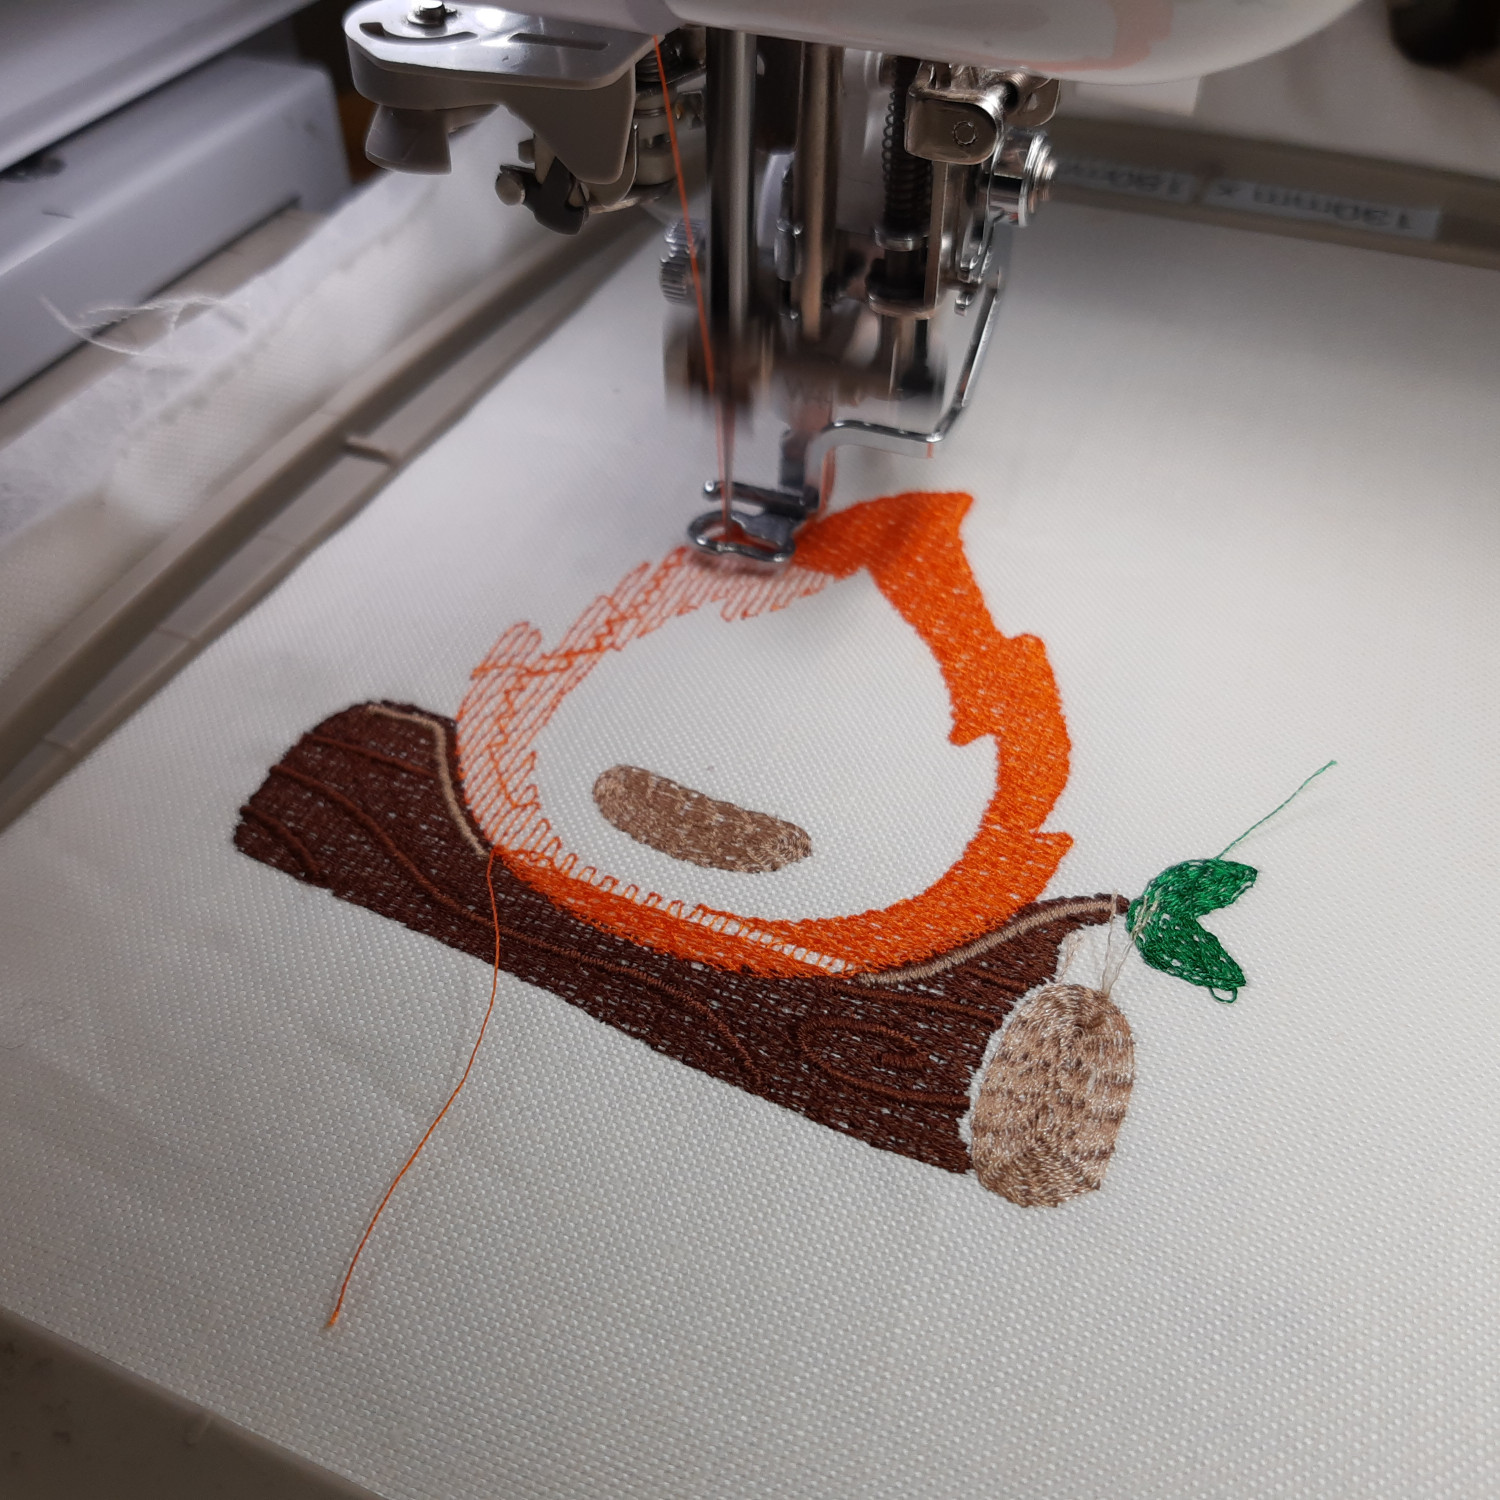
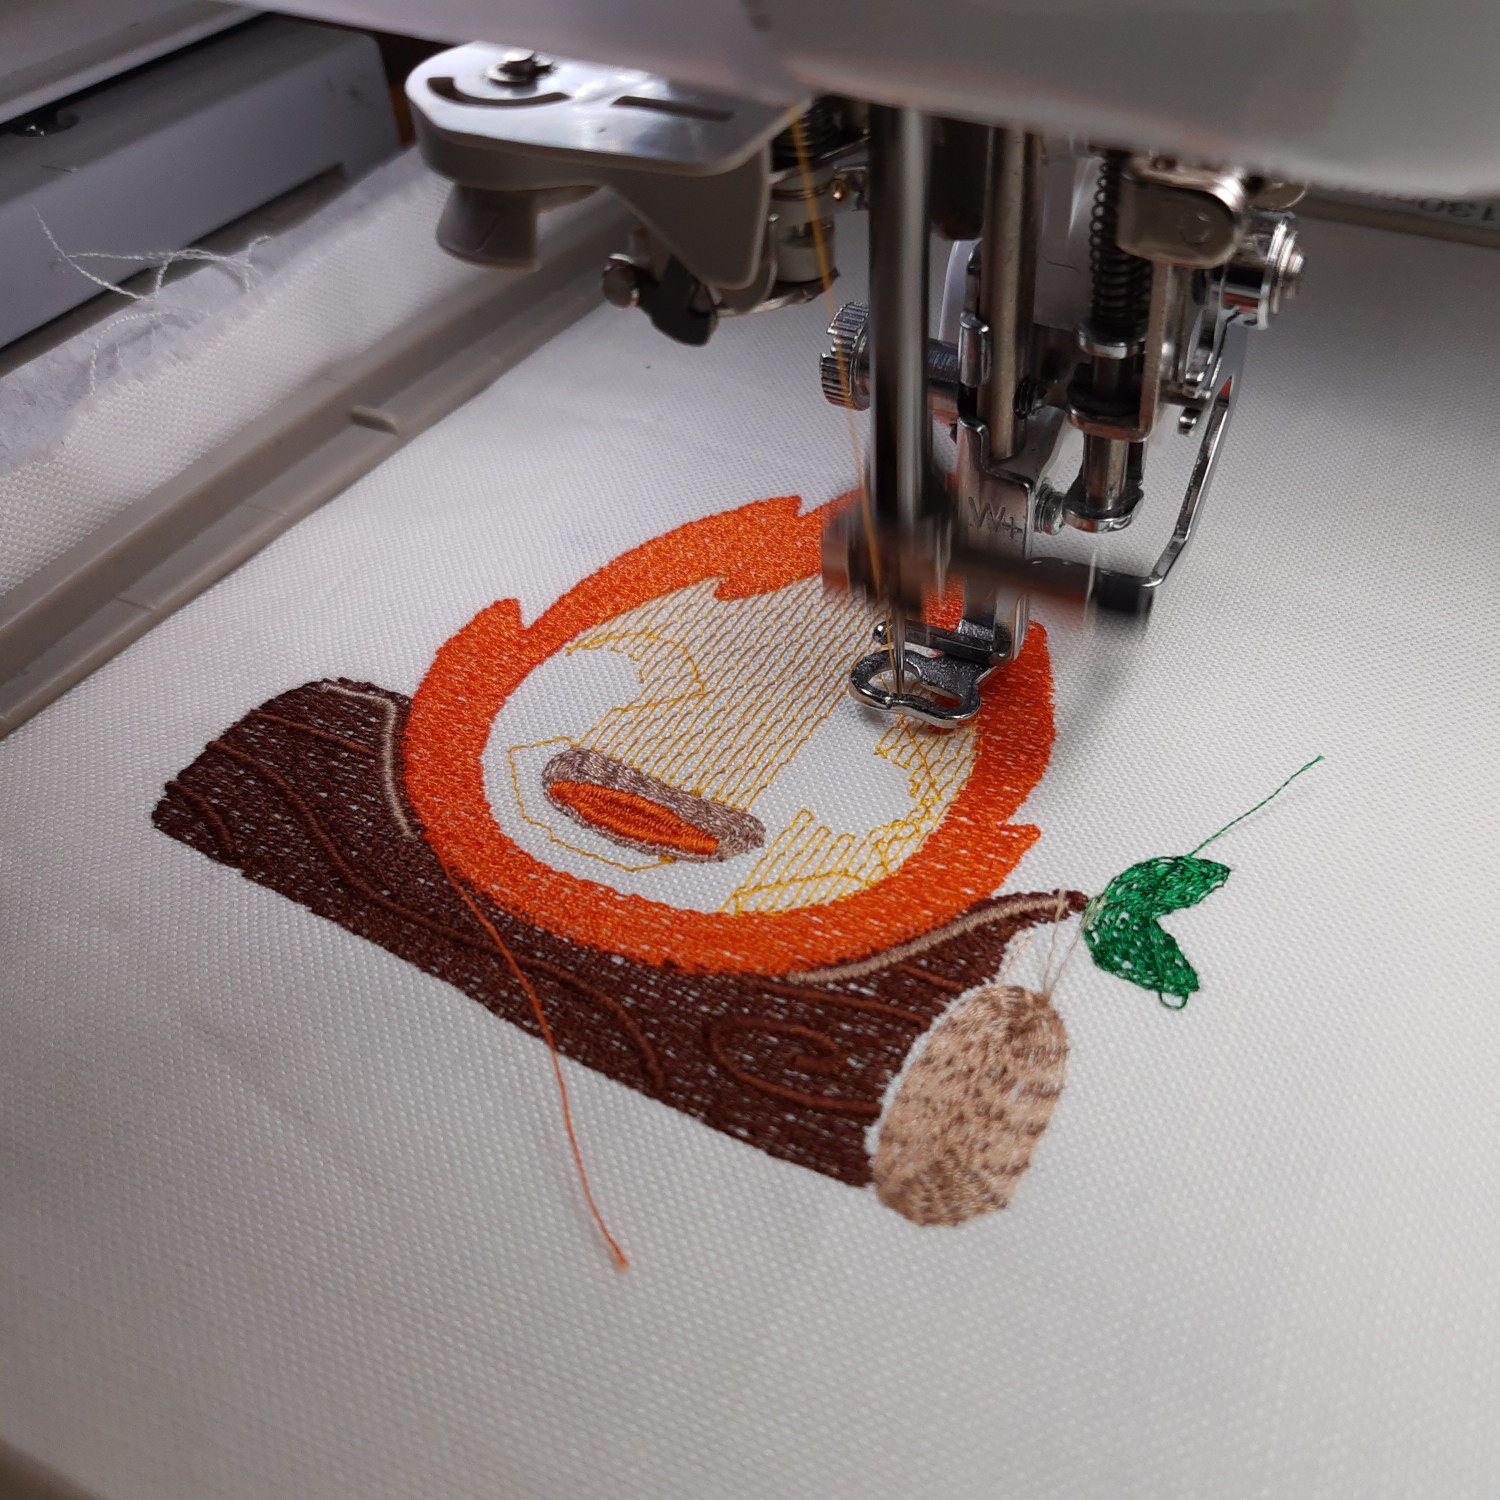
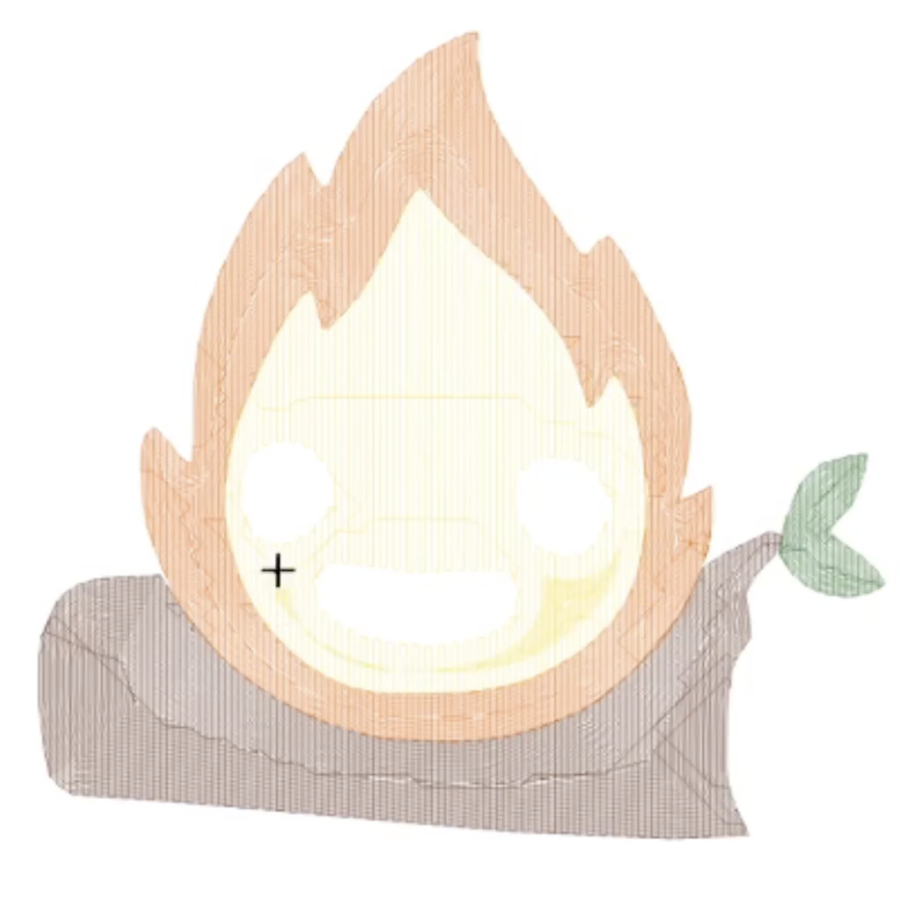
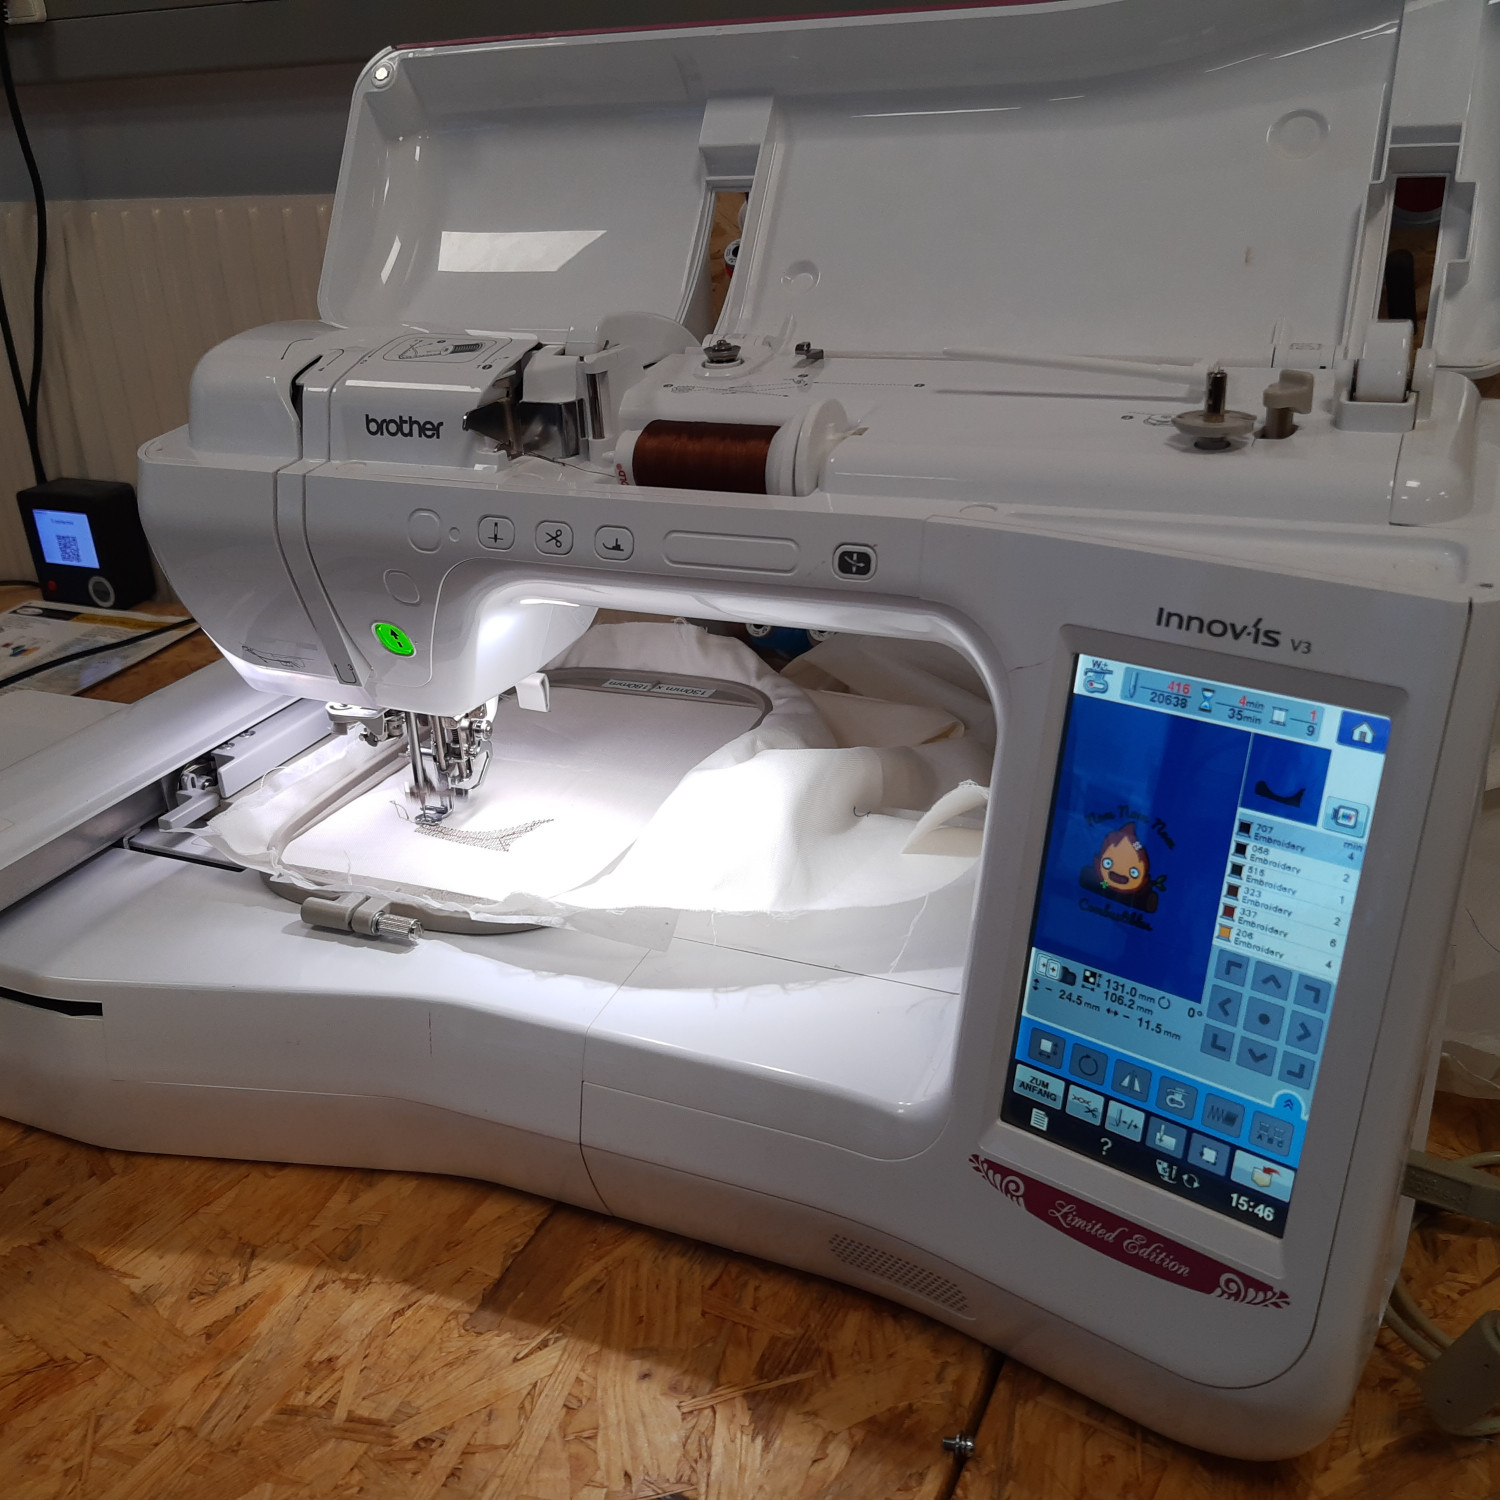
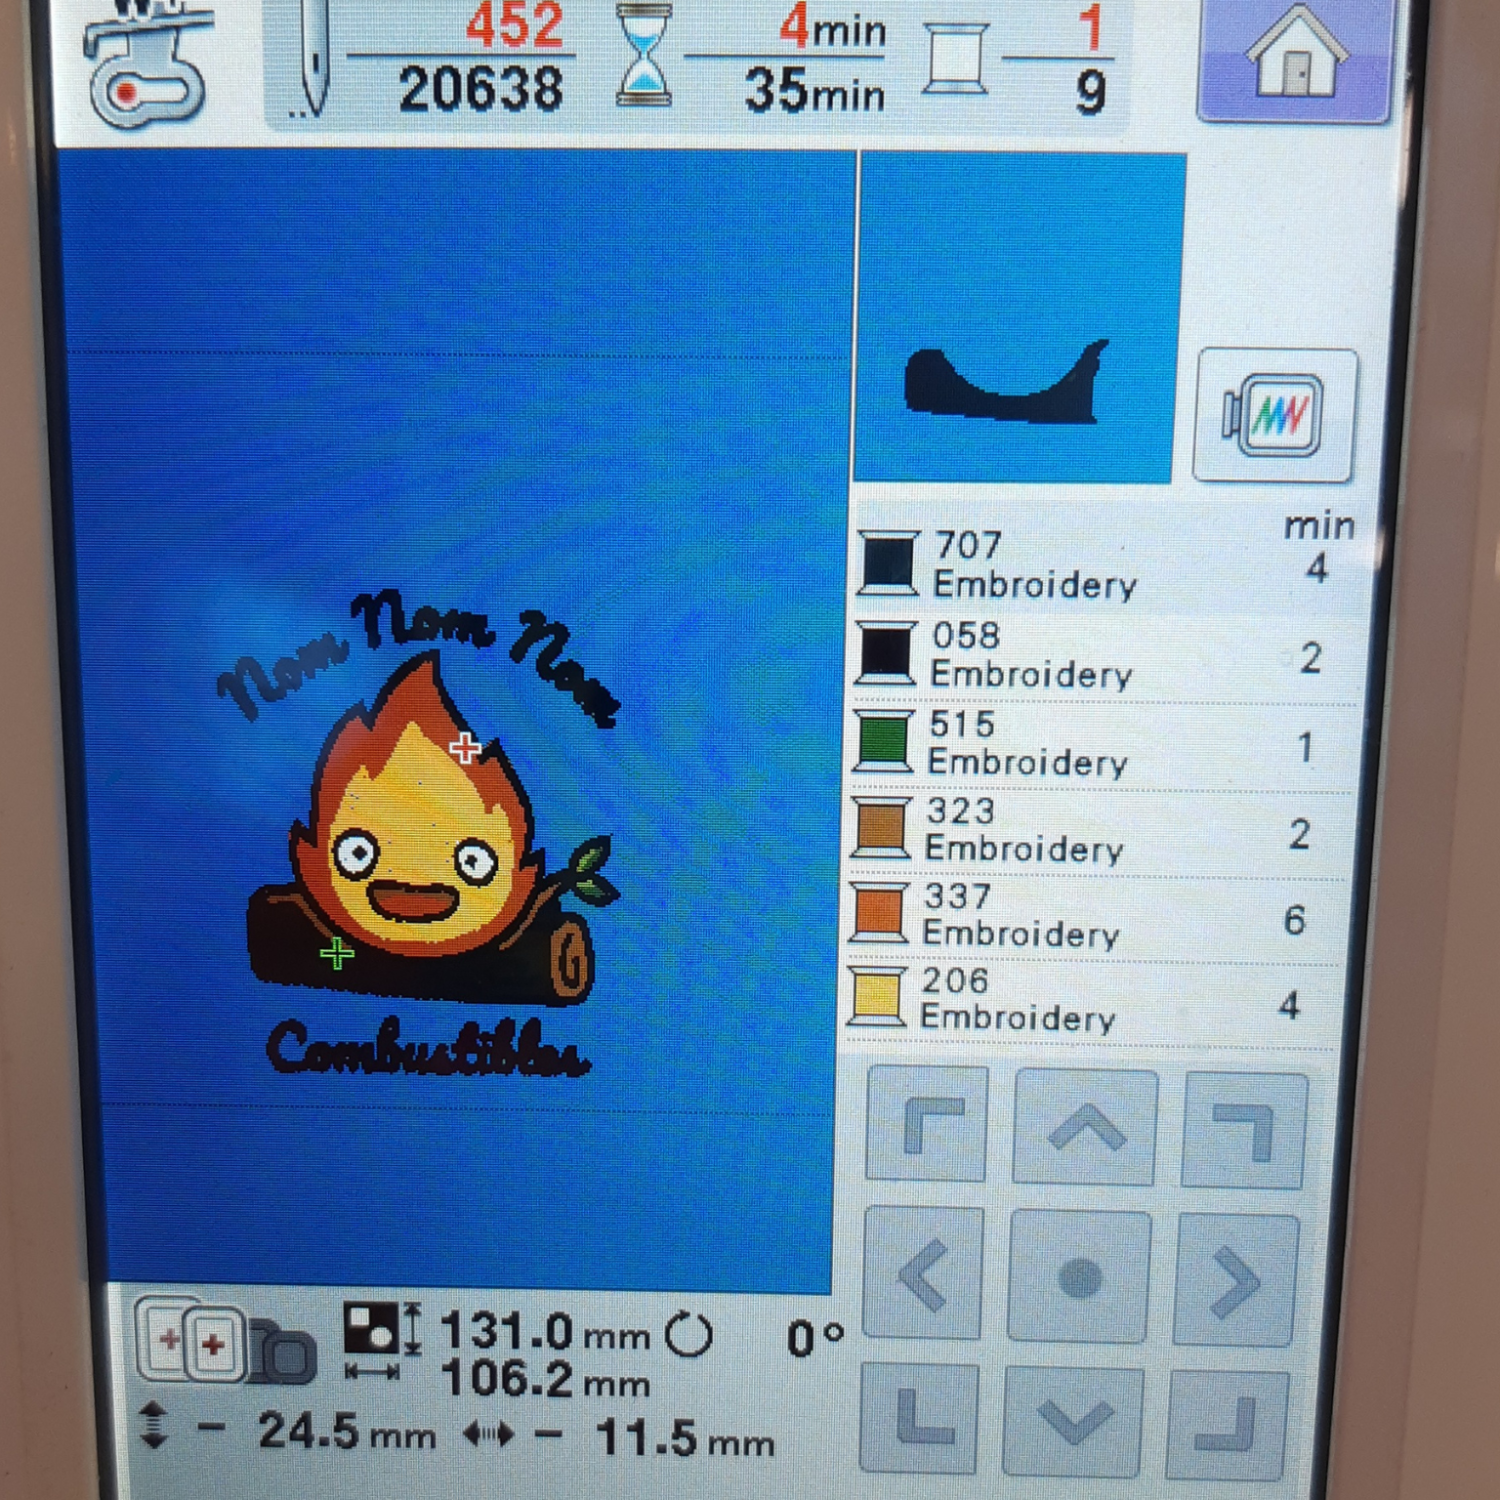
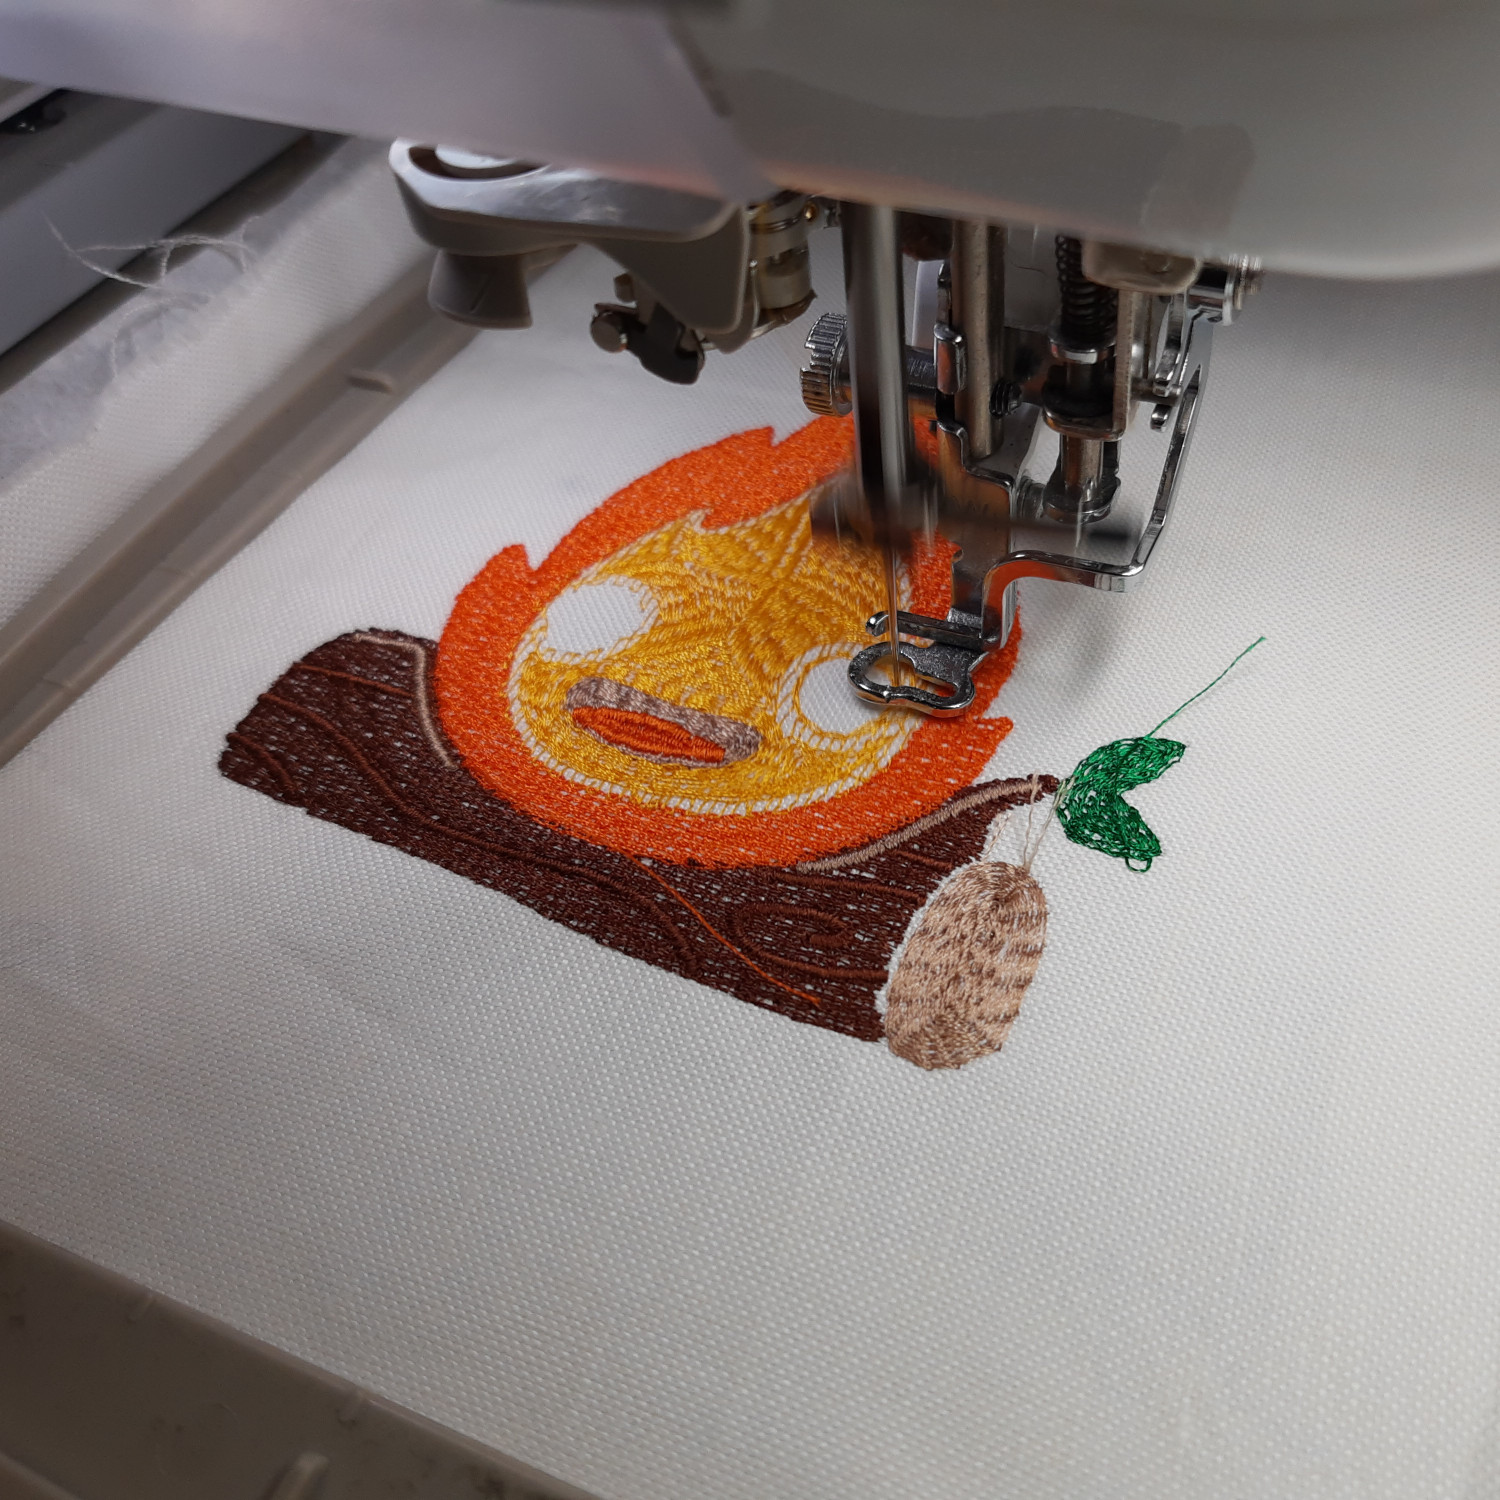
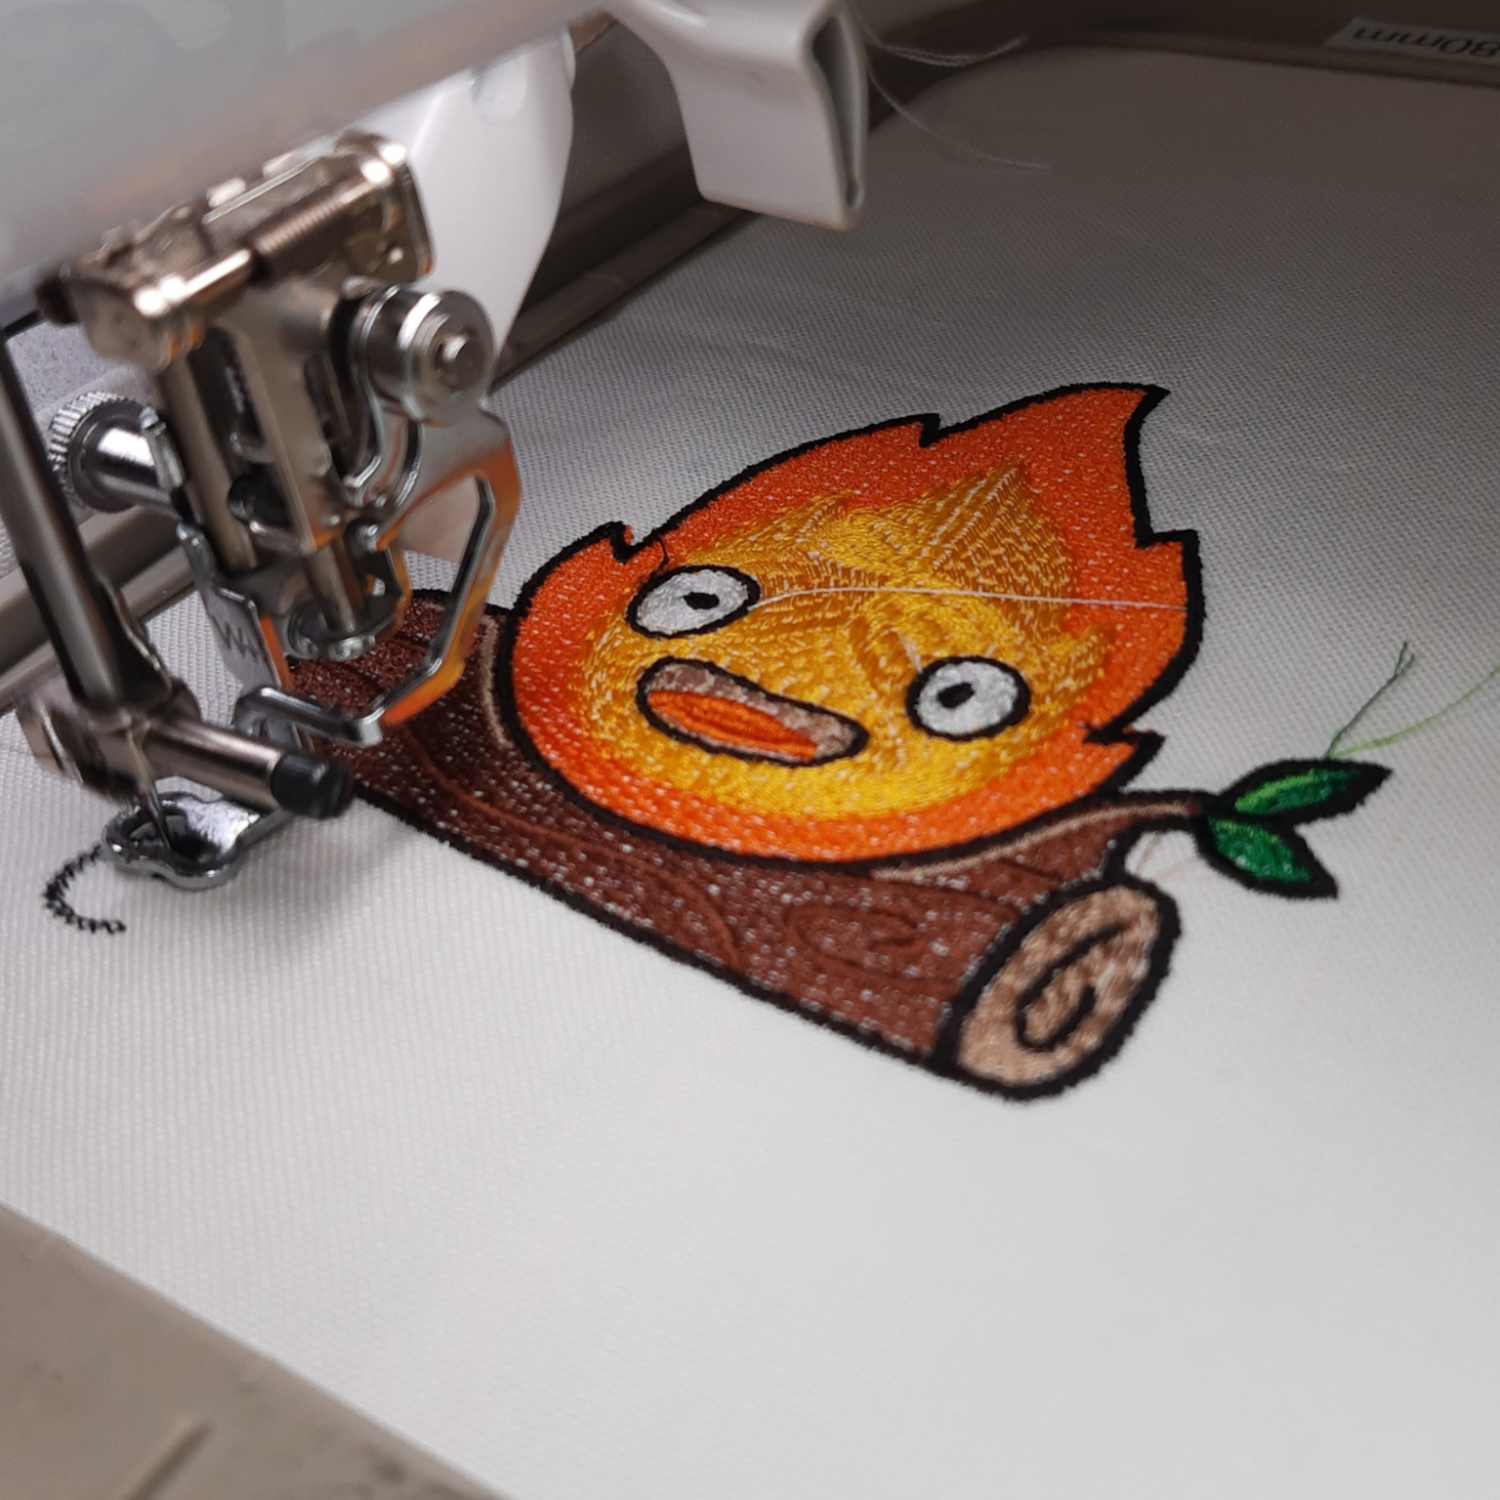
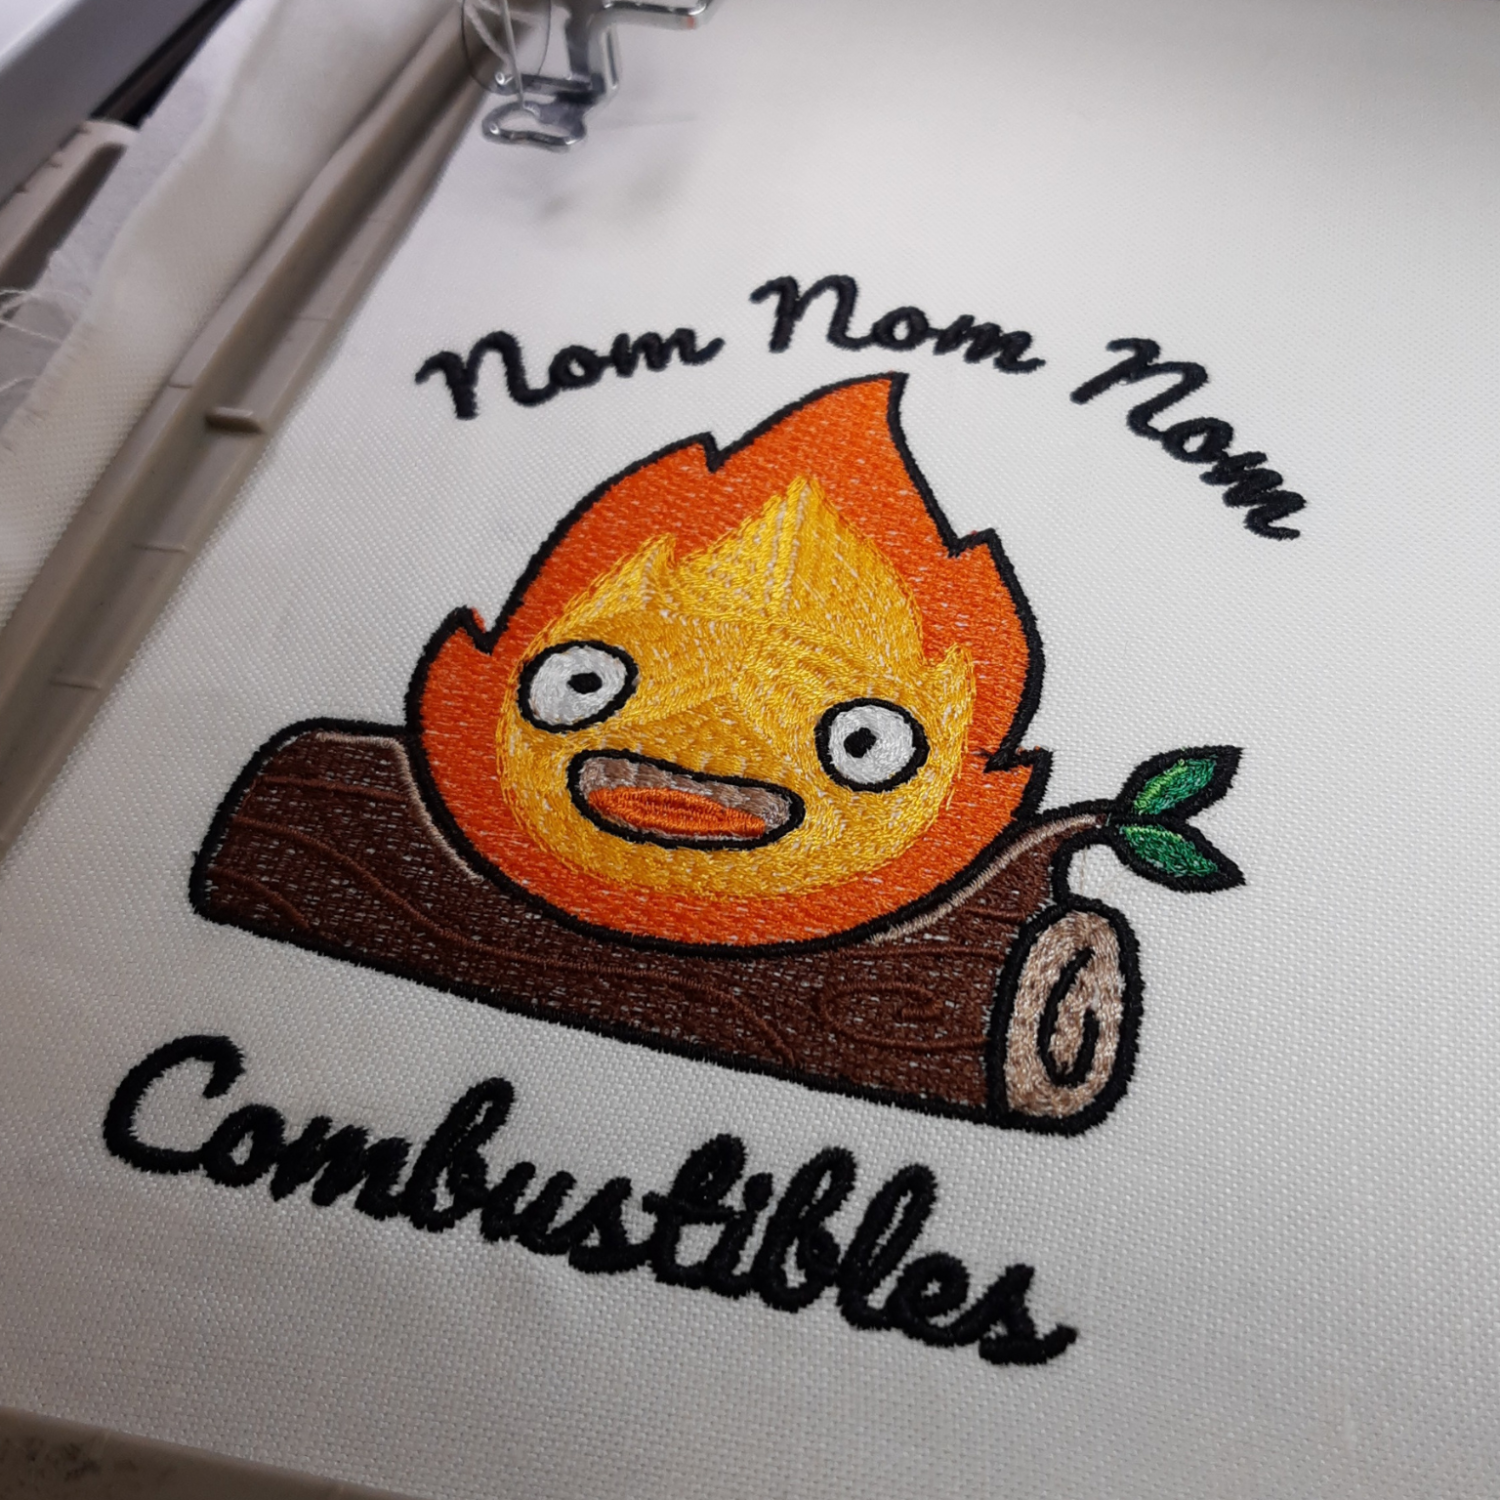
To complete the small series, Andreas then made a larger motif with 10 colour changes, several areas and lots of details as satin stitching. The embroidery plan was created in just two hours on a cosy afternoon.
The result speaks for itself.
INFORMATION:
If you are interested in the topic of ink/stitch, take a look at the wiki. There we have put together a short page with some resources.
You can also arrange an individual training session on the subject with Andreas.
If there are enough people interested, we will organise an afternoon at the School of Makers with the motto "Embroidery with Ink/Stitch". If you are interested, please send an email to wien@happylab.at